Skylum’s new, AI-driven, Luminar Mobile app is easy to use and makes the essential editing tools easily accessible in your portable device, be it a smartphone, tablet or Chromebook. [Article courtesy of Skylum]
The addition of Android capabilities means Luminar editing tools are now available across a wide range of platforms, including ChromeOS, iOS, Windows and macOS. This enables a seamless workflow across all the user’s devices, from their smartphones and tablets through to laptops and desktops, with the mobile apps offering essentially the same essential capabilities in a portable format.
As well as supporting all the popular raw file formats, Luminar Mobile can also work with JPEG, TIFF, PNG, BMP, PSD and JPEG 2000 files, although the file sizes you can edit will depend upon your phone’s RAM capacity. You’ll require at least 4GB of RAM to use the app, but even phones with 4-8GB of RAM will be able to handle files with a maximum length of 6048 pixels on the long side of the image. Phones with more RAM will be able to handle larger and more complex images without encountering performance issues.
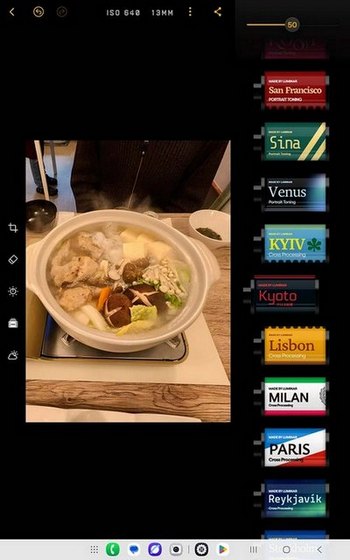
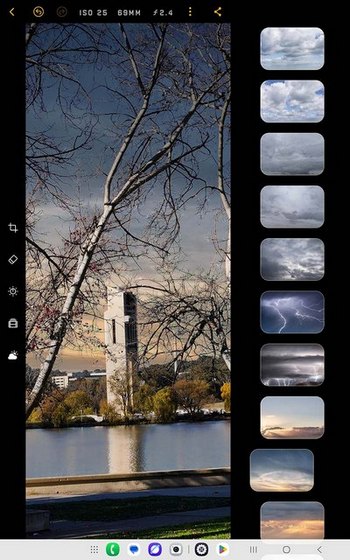
These screen grabs show the small differences in the layouts of Luminar Mobile on a tablet and smartphone screen. Note that all the key tools are provided in both interfaces.
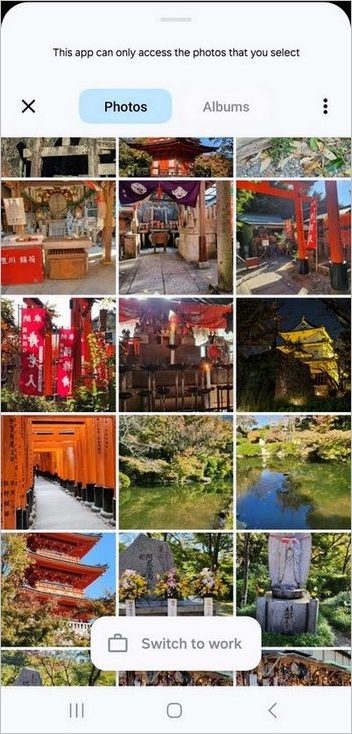
The user interface is straightforward. The Photo Gallery, which displays thumbnails of the images on your phone arranged in albums according to date. This is where you select each image you want to edit. Tap once on the thumbnail, and the image opens directly in the Luminar editor.
The Photo Gallery lets you scroll through all the images stored on your mobile device.
The File Manager makes it easy to find images stored outside your gallery. It lets you browse through your downloads, SD cards and connected cloud storage apps to find the image you want to edit.
The layouts of the Editing screen are slightly different, depending on whether you’re working on a phone, tablet or Chromebook but each contains the same basic tools. The main toolbar (shown here) contains five icons, identified from left:

– The Back arrow exits the editing screen and takes you back to the Photo Gallery or File Manager.
– The undo arrow removes the last change.
– The redo arrow to its right is used to reapply it.
– The three vertical dots icon opens the Settings Menu which accesses details about your account and your phone as well as a basic user guide.
– The Share button at the right-hand end of the toolbar opens the export panel for sharing and/or saving your image.
Below the toolbar – or in a larger separate panel on a tablet – are the main editing controls, which access settings for adjusting brightness, contrast and colour sliders plus a prominent Enhance AI wheel that provides automatic adjustments.
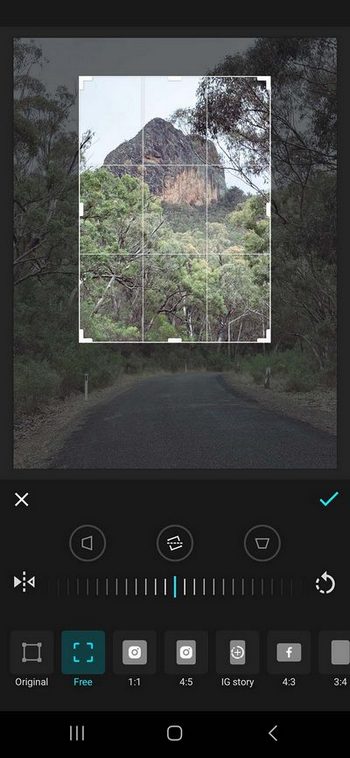
A separate panel on the left of a tablet screen or below the AI wheel on a phone lets you access cropping, erasing, Enhance AI, LUTs (filters) and sky replacement tools, all of which are AI-based. We found them easy to use and generally effective.
One of the best features of the app is the ability to edit and share photos directly from your device straight after you’ve taken them. This will make the app a popular resource for travellers and everyday photographers
The cropping tool makes it easy to eliminate unwanted parts of an image.
A wide selection of ambiguously-named look up tables (LUTs) is provided for use when you want to apply subtle changes to images.
The sky replacement tool was particularly impressive in the way it could replace a sky without interfering with foreground details.


